 |
| No animals were harmed in the making of these model trees... only this stuffed rabbit... but just a little bit! |
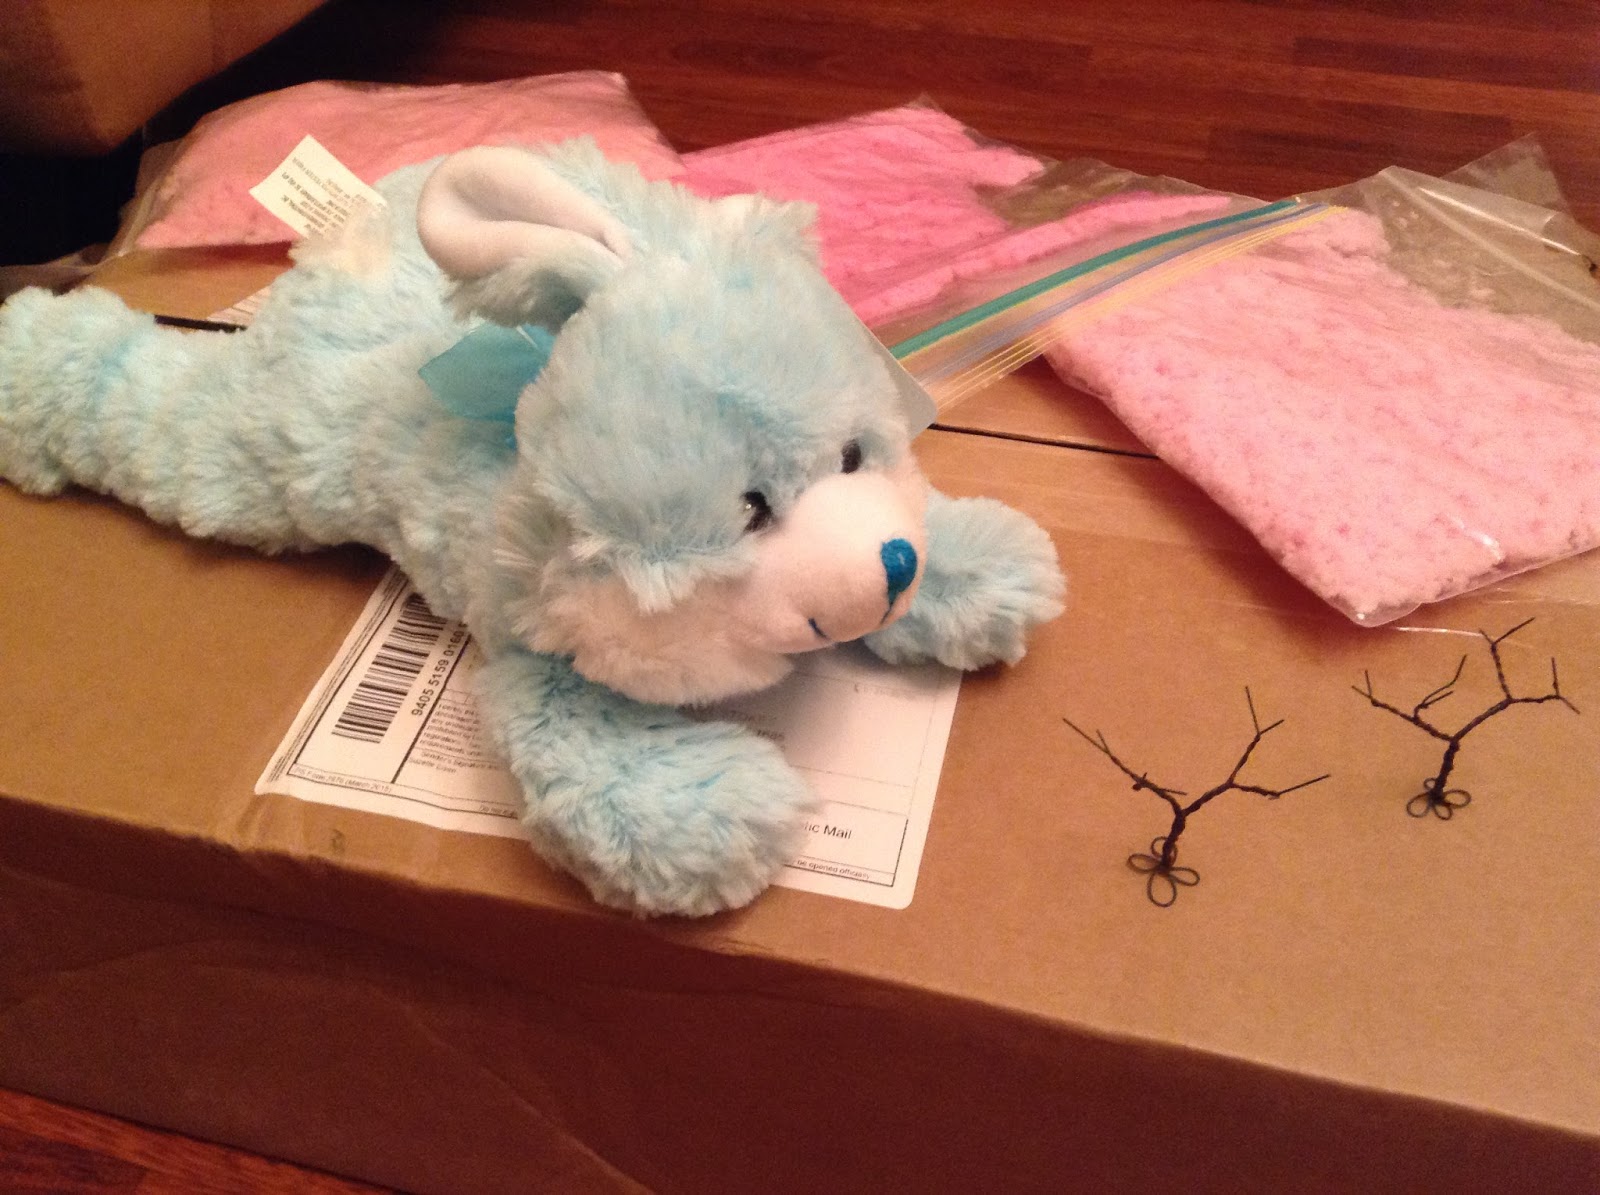
I had some stuffed animals as a kid, and the thought of cutting open this little guy and gutting him kind of pained me a little bit. I was really hoping to find a cheap throw pillow instead (less emotionally scarring!), but that particular day the Dollar Tree didn't have any pillows for sale.
As humanely as possible (!), I opened up just enough of the seam on the rabbit's side to pull out bits of poly fiber.
 |
| MINOR surgery in progress. The bunny would recover nicely, if not a little bit thinner :-) |
Then I stretched out little bits of the fiber, dabbed a little full-strength white glue on the tips of the tree branches, spread the stretched fiber over them, and set them aside to dry.
 |
| Close up of the first few trees with the poly fiber added. |
 |
| Happy little trees! |
The next step was to add the pink foam, but this didn't go so well. Following instructions I had seen on the Internet, I first sprayed the white canopy with cheap hair spray that I picked up from Walmart. Then I sprinkled on some pink foam, and repeated the process to cover the tree.
Unfortunately, I couldn't get the foam to stick. After using about 1/4 the bottle of hair spray on my two test trees, I decided to throw in the towel and figure out a Plan B. I think part of the problem was the foam was way too coarse for this application, and was just to heavy to stick to the poly fiber. Another problem was probably due to my impatience in not letting the hair spray dry.
 |
| Pink foam fail. |
I was a little frustrated that all that time and energy spent making the pink foam was a waste. But, hey, at least now I have a cool little blender I can make smoothies with! Maybe some time later on I'll try to run the foam through the blender again to see if I can chop it up to a finer grade. No time for that now, I have to think about what else I need to accomplish in the next couple of weeks!
After giving it some thought, my Plan B for the trees was to paint the poly fiber canopies directly. I first tried soaking a canopy in diluted pink paint.
 |
| Side-by-side comparison: dunked canopy on the left, my best foam-covered example on the right... meh... |
The dunking method was OK, but still didn't quite look right, but I knew I was on the right track. I decided to load my trusty Badger airbrush with diluted pink craft paint and spray the white poly fiber canopies. Eureka! This actually turned out pretty well - good enough for the International Day event in 1 week, at least!
 |
| Foam-covered example on the far left, front row. Dunked canopy next to it. The rest have been spray painted with an airbrush. |
Airbrushing did leave some minor paint "beading" on the poly fiber canopies, but after it dried, it looked OK and passed the all-important 3-foot rule. I went back later and touched up the pink overspray on the trunks with brown paint. I ended up using the "dunked" tree closer to the backdrop where it would be less noticeable.
 |
| Much happier little trees! |